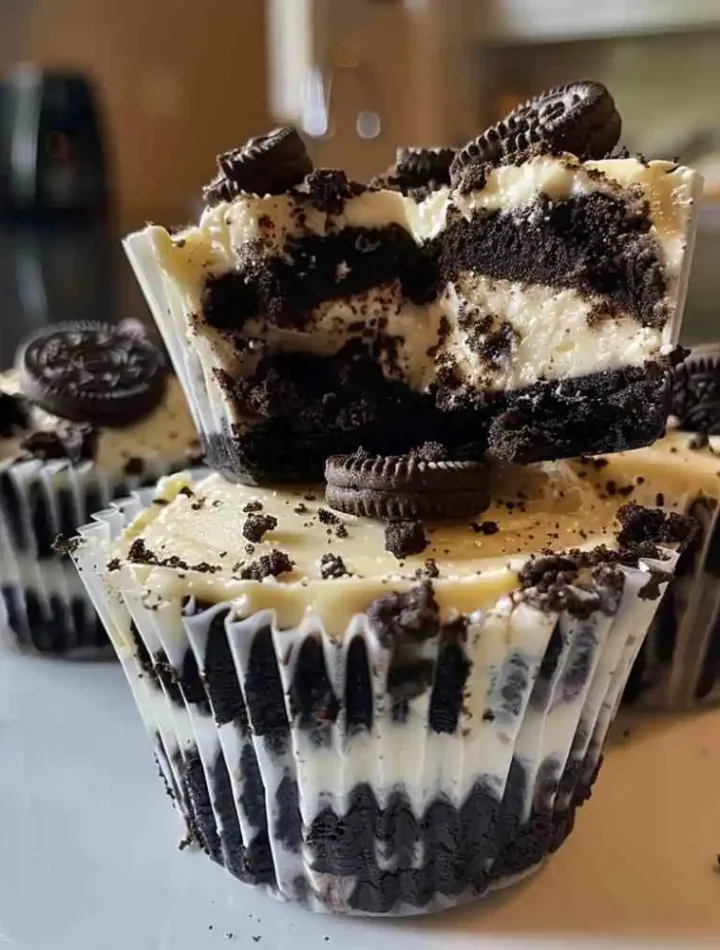
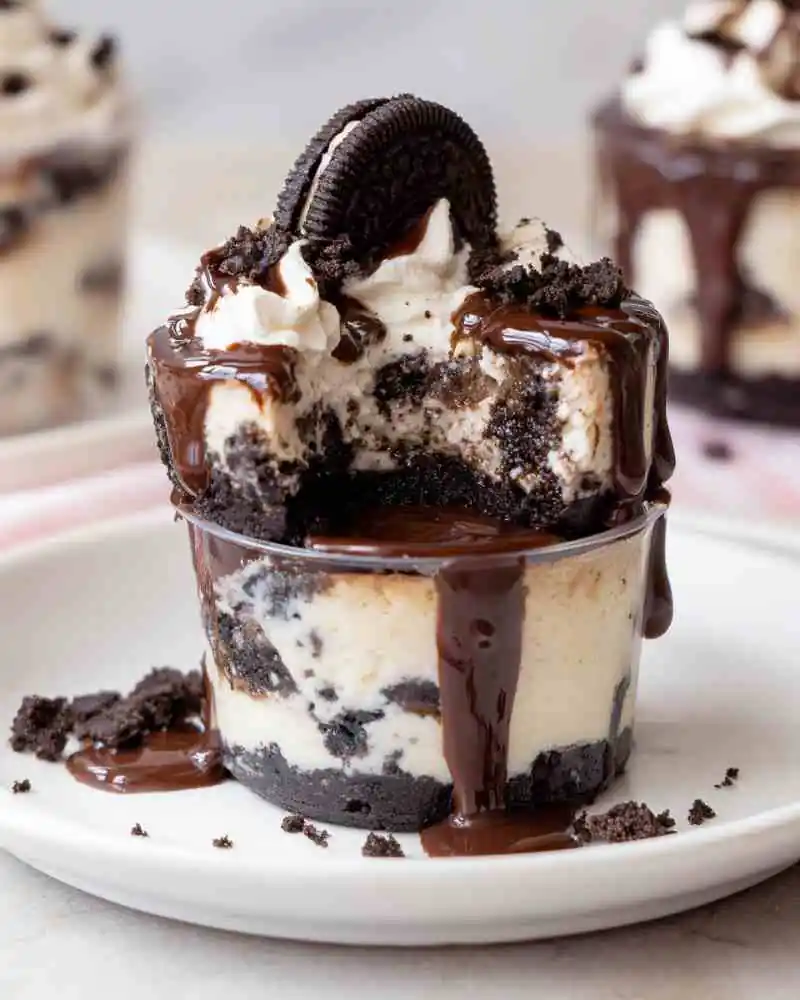
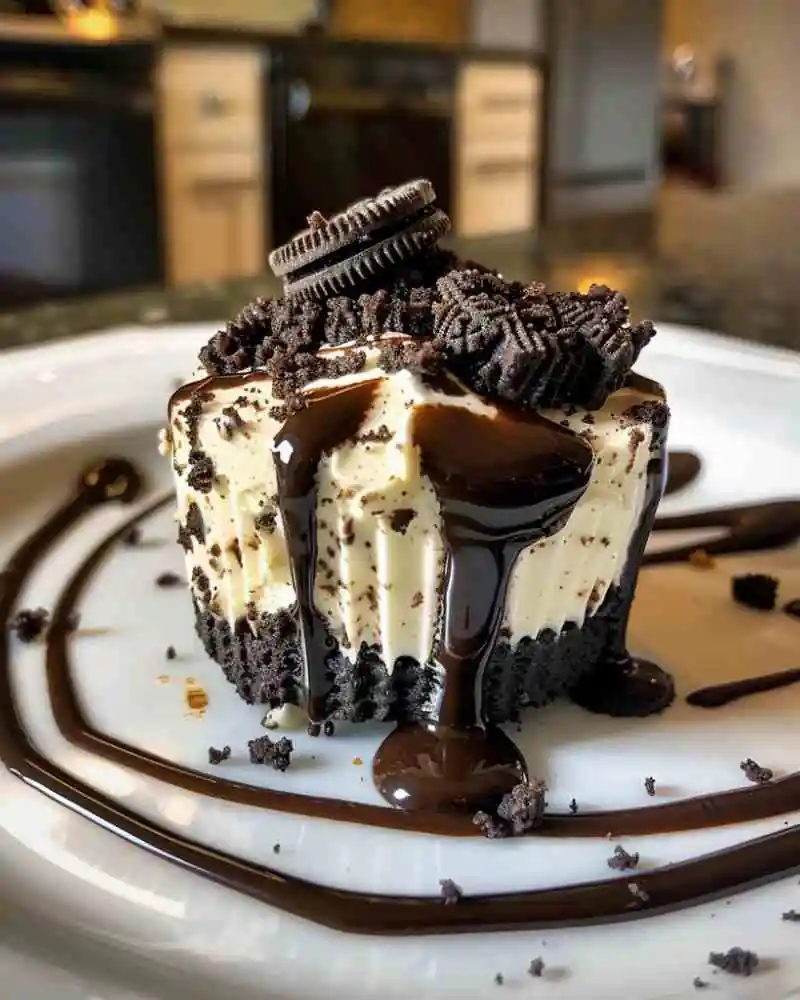
Cool, creamy, and layered with that iconic cookies-and-cream crunch—these Oreo cheesecake cups melt softly on your spoon in just 20 minutes of prep. No oven, no stress, just a rich, fluffy filling sitting on a buttery Oreo base that tastes like pure comfort.
Table of Contents
Table of Contents
Quick Recipe Summary
- Chill Time: 2–3 hours
- Prep Time: 20 minutes
- Temperature: No-bake (refrigerated)
- Texture: Silky, airy cheesecake with crunchy Oreo base
- Servings: 6 cups
- Avoid This Mistake: Don’t overmix after adding whipped cream—it deflates the texture
Why You’ll Love It
These little dessert cups hit that perfect balance between indulgent and effortless. Every layer feels intentional, yet the process stays simple.
- No baking required—perfect for warm days
- Light, fluffy texture with rich Oreo flavor
- Individually portioned (great for parties)
- Easy to customize with toppings
- Comes together fast with minimal tools
Ingredients
- 20 Oreo cookies (crushed)
- 4 tablespoons melted butter
- 250g cream cheese (softened)
- 1 cup heavy whipping cream
- ½ cup powdered sugar
- 1 teaspoon vanilla extract
Optional toppings:
- Crushed Oreos
- Chocolate drizzle
- Whipped cream
If you love layered desserts like this, you might also enjoy this strawberry crunch cheesecake for a fruity, textured twist.
Step-by-Step Instructions

1. Make the base
Mix crushed Oreos with melted butter until it feels like wet sand.
Spoon into cups and press down firmly.
Tip: Use the back of a spoon for a compact, even layer.
2. Whip the cream
In a cold bowl, whip heavy cream until stiff peaks form. Set aside.
3. Prepare the cheesecake filling
Beat cream cheese, powdered sugar, and vanilla until smooth and creamy.
Tip: Make sure cream cheese is fully softened to avoid lumps.
4. Fold gently
Fold whipped cream into the cream cheese mixture slowly.
Tip: Use a spatula and light strokes to keep the texture airy.
5. Assemble the cups
Pipe or spoon the cheesecake mixture over the Oreo base.
6. Add topping layers
Sprinkle extra crushed Oreos or drizzle chocolate on top.
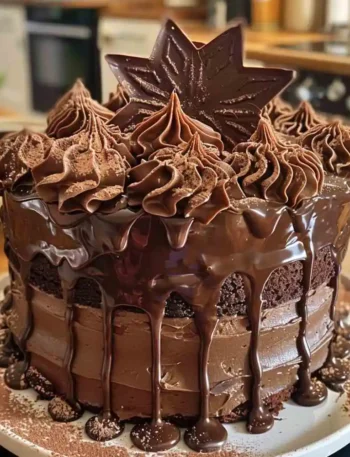
If you enjoy rich chocolate desserts, this triple chocolate cake is another indulgent option worth trying.
7. Chill
Refrigerate for at least 2–3 hours until set.
Pro Tips
- Chill your mixing bowl before whipping cream for better volume
- Don’t skip the chilling time—it helps everything firm up beautifully
- Use full-fat cream cheese for the creamiest texture
- Pipe the filling for cleaner, bakery-style presentation
- Add a pinch of salt to balance the sweetness
Variations
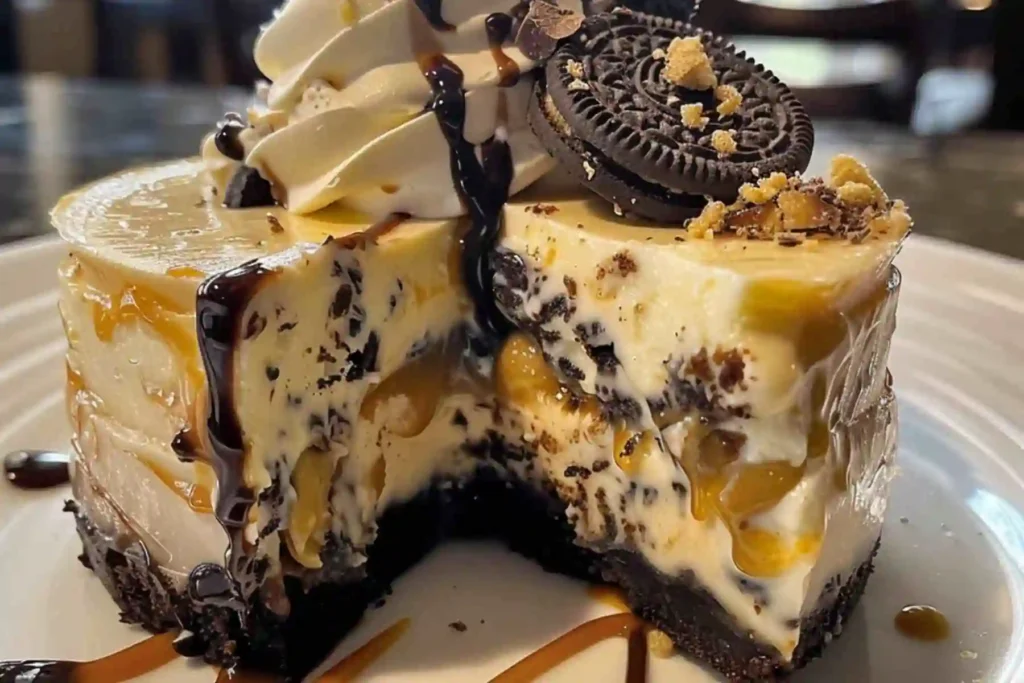
Healthy Version
Use light cream cheese and a sugar substitute. You can also reduce the Oreo base slightly and add fresh berries for balance.
Budget Version
Swap Oreos with any chocolate sandwich cookies. The result is still delicious and more affordable.
Kid-Friendly Version
Layer with extra crushed Oreos and mini chocolate chips. Keep it fun and extra sweet.
High-Protein Version
Mix in a scoop of vanilla protein powder into the filling and slightly reduce powdered sugar.
For another creamy dessert idea, this strawberry cheesecake adds a fresh, fruity layer to classic cheesecake flavor.
Storage & Reheating
Fridge:
Store covered for up to 4 days.
Freezer:
Freeze for up to 1 month. Thaw in the fridge before serving.
Texture Tip:
Keep them chilled until serving—this keeps the layers firm and creamy.
FAQ
Can I make these ahead of time?
Yes, they’re perfect for prepping a day in advance.
Can I use store-bought whipped topping?
Yes, but homemade whipped cream gives a lighter texture.
How do I crush Oreos easily?
Use a zip bag and rolling pin or a food processor.
Can I make it in one large dish?
Absolutely—just layer in a pan instead of cups.
What’s the best substitute for cream cheese?
Mascarpone works well for a slightly richer flavor.

Oreo Cheesecake Cups
Ingredients
Equipment
Method
- Crush Oreo cookies into fine crumbs and mix with melted butter until combined.
- Press the mixture firmly into the bottom of serving cups to form the base.
- In a chilled bowl, whip heavy cream until stiff peaks form. Set aside.
- In another bowl, beat cream cheese, powdered sugar, and vanilla until smooth.
- Gently fold the whipped cream into the cream cheese mixture until light and fluffy.
- Spoon or pipe the cheesecake filling over the Oreo base.
- Add crushed Oreos or chocolate drizzle on top.
- Refrigerate for at least 2–3 hours until set.
Notes
- Make sure cream cheese is fully softened for a smooth filling
- Do not overmix after adding whipped cream to keep texture light
- Chill time is essential for structure and flavor
- Can be made 24 hours ahead for best results
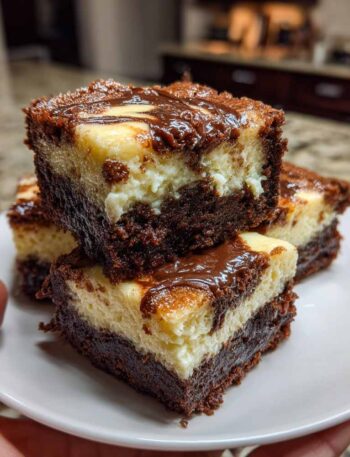
If you love easy desserts, these cheesecake brownies combine two favorites into one.
This Is the Kind of Dessert You’ll Keep Coming Back To
It’s the contrast that makes it unforgettable—the soft, cloud-like cheesecake against the slight crunch of Oreo crumbs, the cool chill that melts slowly with each bite. These cups are made for celebrations, last-minute cravings, or just treating yourself without effort.
Simple, creamy, and quietly addictive—once you try them, they become your go-to.
You May Also Love
- Burnt Basque Cheesecake – Deep caramelised flavour with creamy centre
- Peach Crisp Recipe – Warm, golden, and full of juicy fruit
- Chocolate Fudge Cake – Rich, dense, and intensely chocolatey
- Mango Dessert Recipe – Fresh, tropical, and vibrant